
I had a section of the deck where I had to continually trim back vines and decided instead to give them a place to climb. This satisfies the first principle of Mary gardening. Make it easy.
And building this trellis was easy. We put it together in a few hours on a Saturday afternoon. Requirements: basic staining,measuring,leveling, cutting, drilling and hammering skills. Best part of this project? I got to do some deconstruction as well as construction. There's something so satisfying about tearing things apart. (Try it, you'll satisfy that inner cavewoman.)
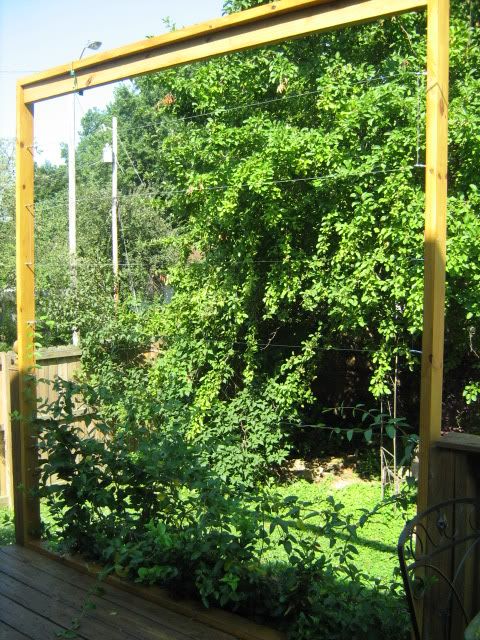
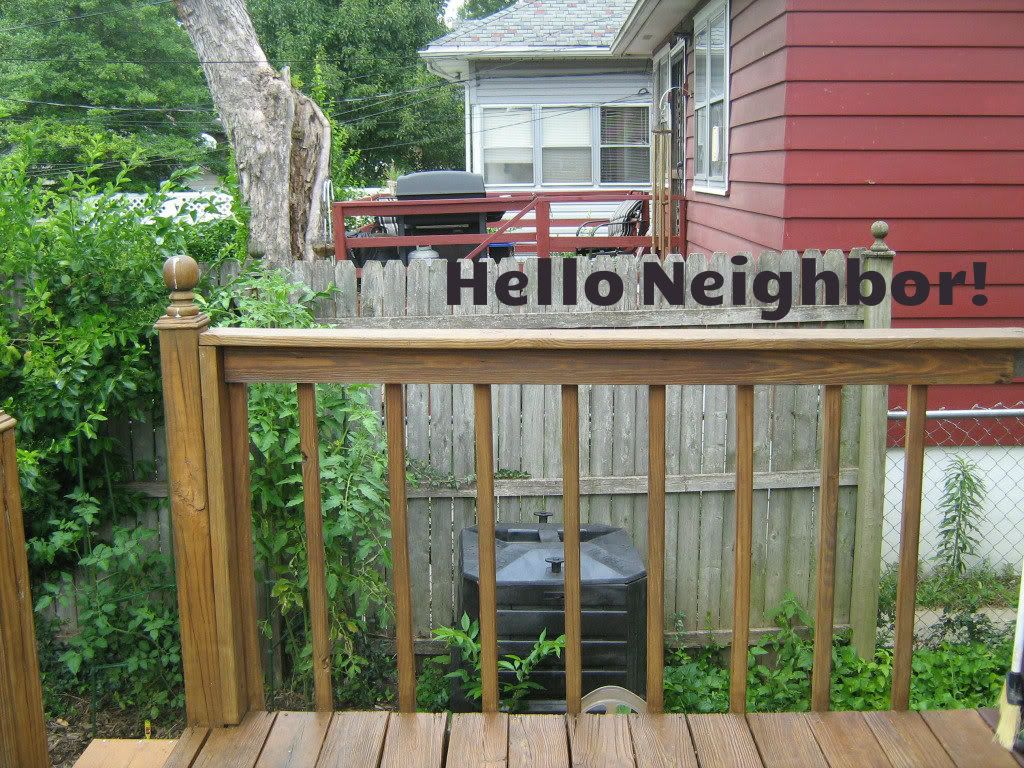
Since that went up well, I started thinking about another problem area of deck living, and that was privacy. Ours is an elevated deck and so is our neighbors. We could see everything that they did on their deck and vice versa. Not that I want to be unfriendly, but sometimes you just need some space! Then it dawned on me that we could use the basic design of the trellis and make a privacy screen.
The before:
The fun part:
The results:
 |
| Don't fall off the edge! And yes our house wall is two-toned. We are trying out new house colors.
Don't you love a blank canvas? So here is where we begin to build THE WALL.
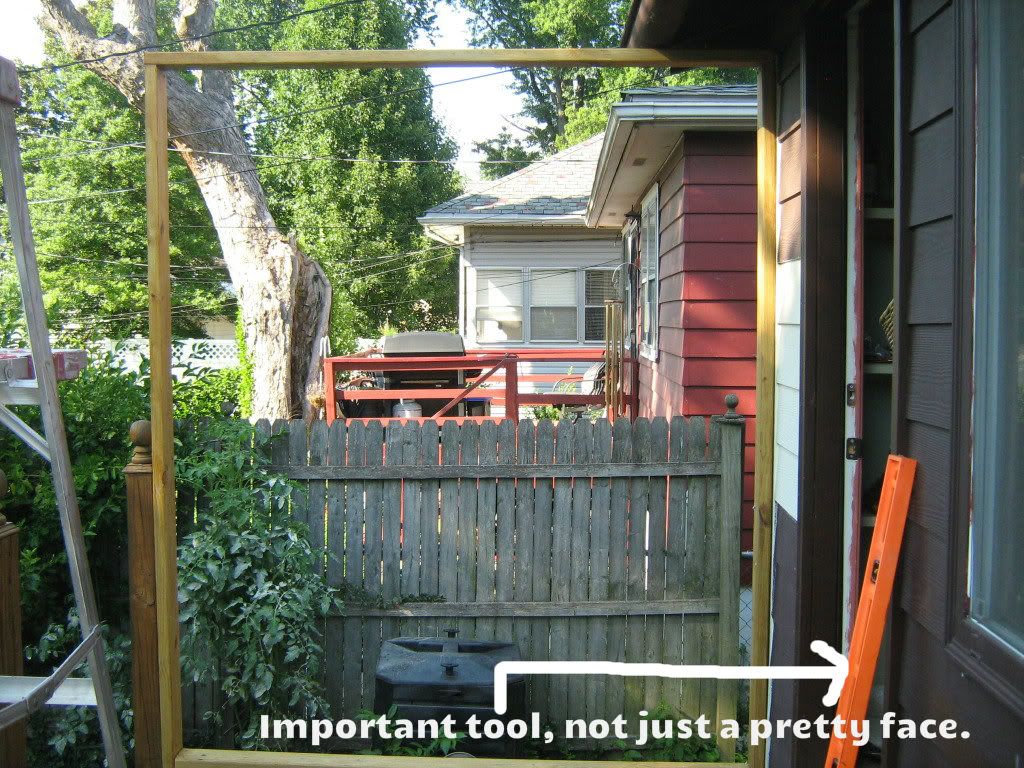
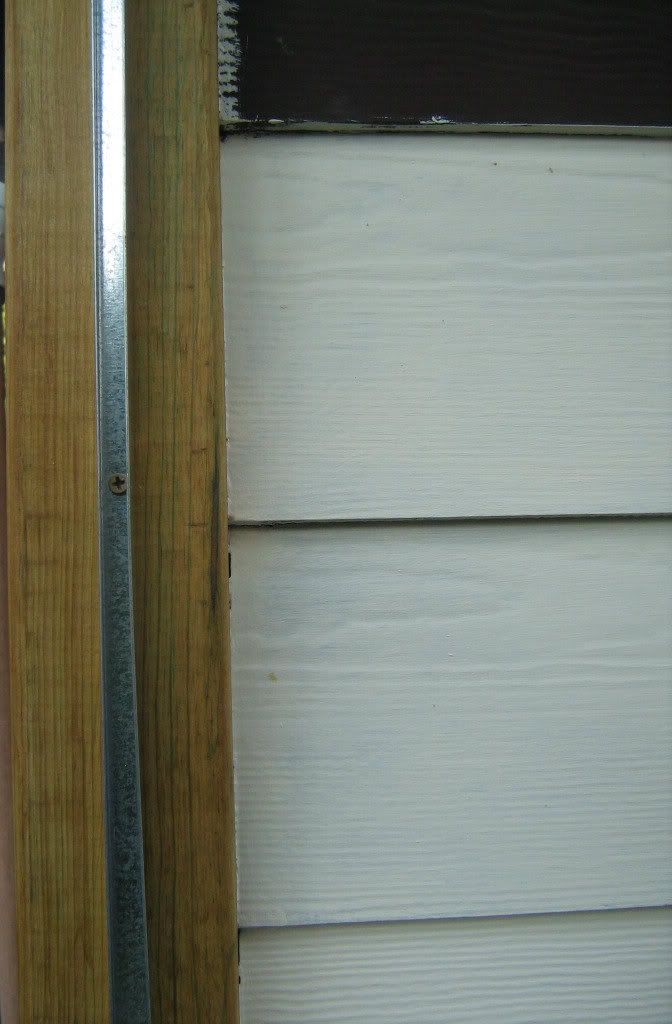
I started this much the same way I built the trellis, making a square to frame it in. This space was 6 feet plus a few inches from the house to the post, so I needed to make adjustments. My screen design is based on squares and I had to take that into account. (My math teacher was right, you use math skills everyday. Thank you Miss Conner!)
I ended up with a rectangle frame to make it aesthetically pleasing with the house wall.
Basic Geometry:
A rectangle is
A plane figure with four straight sides and four right angles, esp. one with unequal adjacent sides, in contrast to a square.
And making one means 90 degree angles in the corners, and level sides. Whew!
 |
I learned a BIG lesson here. Get the frame as square and level as you can and then you won't have to throw a temper tantrum later. Good life lesson; noted.
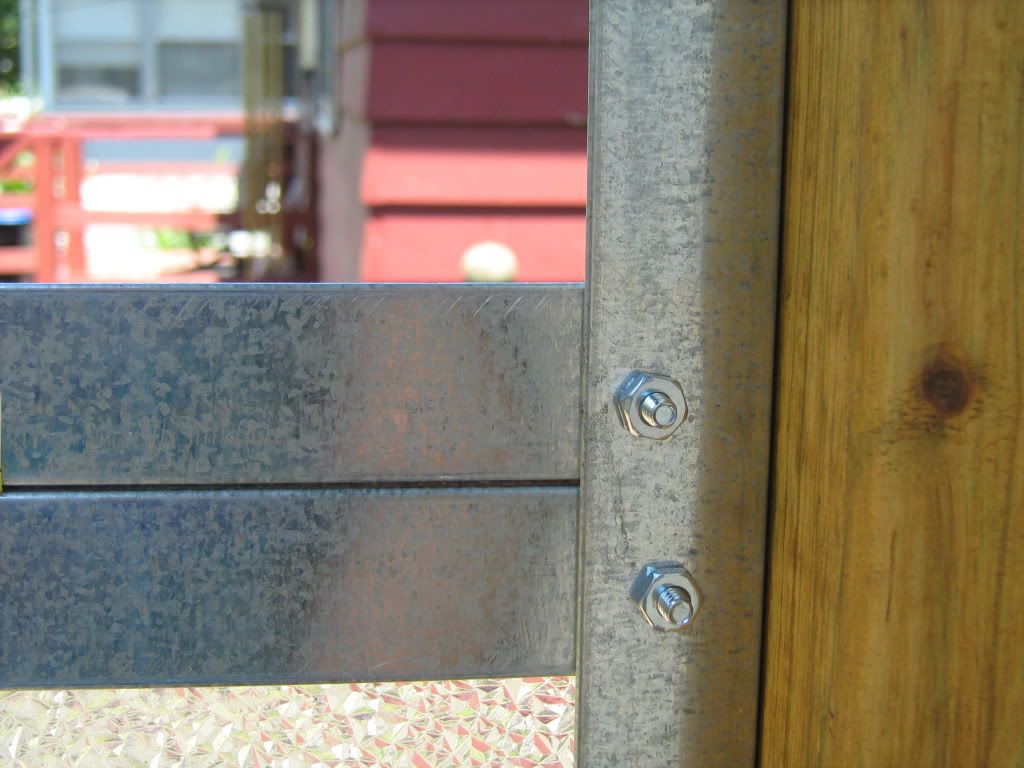
How to attach frame to support surfaces:
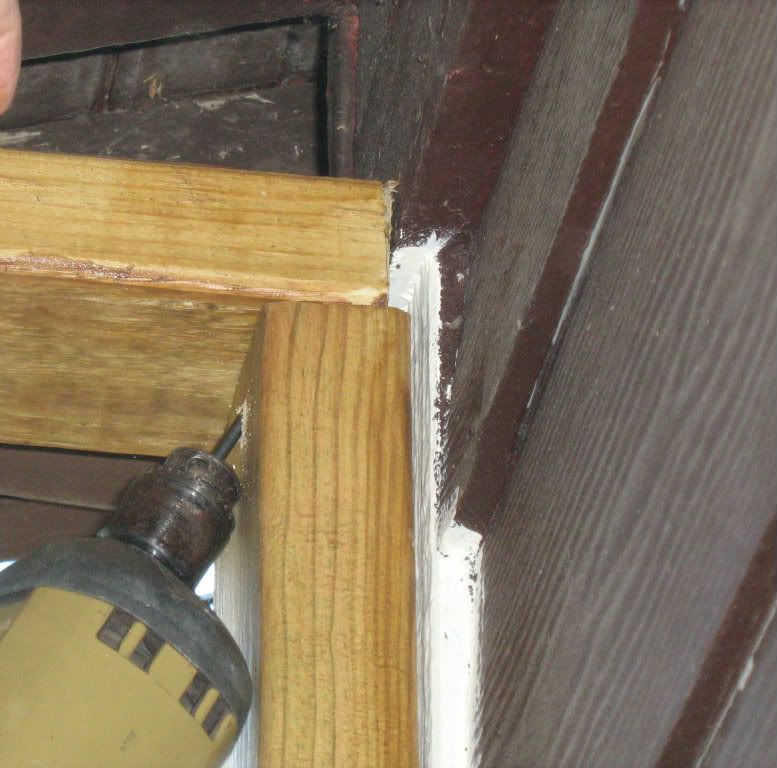

To build THE WALL I started at the bottom. I am building with dry wall J channel things to insert in them lucite light diffuser panels. (Say that once or twice at the Home Depot!) Since my lucite panels are A BEAR to cut, I want to use them in my design as they were made. (Remember the first rule of Mary gardening? Apply now.)
I framed out the inside of my wood frame with the J channel things.
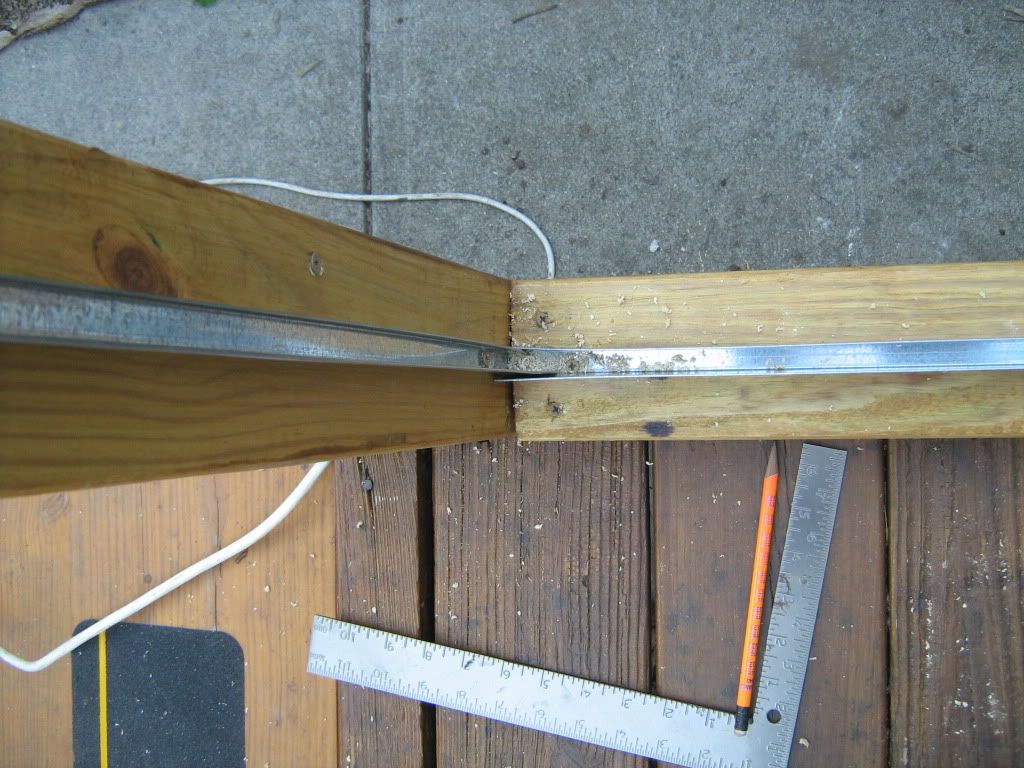 |
| Looking down at the frame where the J channel pieces come together. I fitted the side pieces into the bottom and the top sections for a finished look.
As I went up from the bottom, I first inserted the lucite panels and leveled the J channel frame, making sure it was square. This will save you such a big headache later.
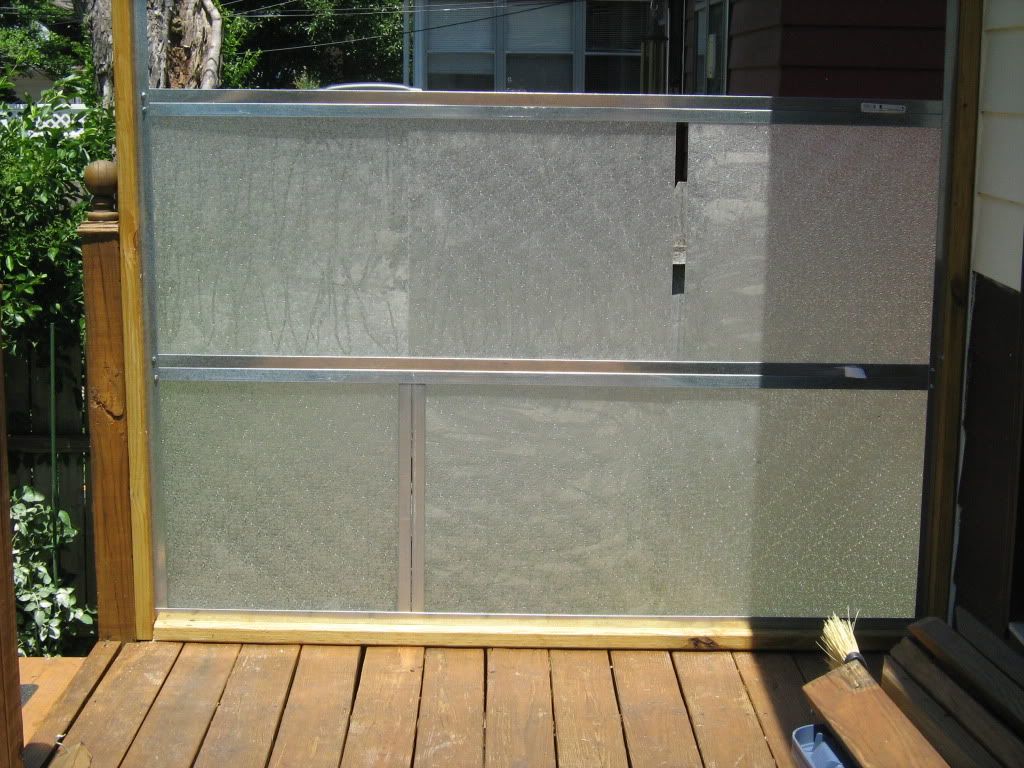
These lucite panels I up-cycled from ugly florescent light fixtures that were in our house. They are 23 1/2'' inches square. I had to adjust the spacing with J channel vertical pieces because of their size.
I secured the J channel with small nuts and bolts. I doubled each horizontal section for strength and so I could frame each section of panels. The panels popped into the framing easily. I put a nut and bolt at each end and in the center of each pair to attach together for stability.
Though I never had an Erector set, I think this is a lot like building with one. As I got near the final row, I found my last section of lucite was broken. I had to trim it. After 2 attempts, I finally had a clean edge. My design became a bit more complicated, but I am happy with results.
The after:
|

Hello, pretty wall!
And here it is at night:
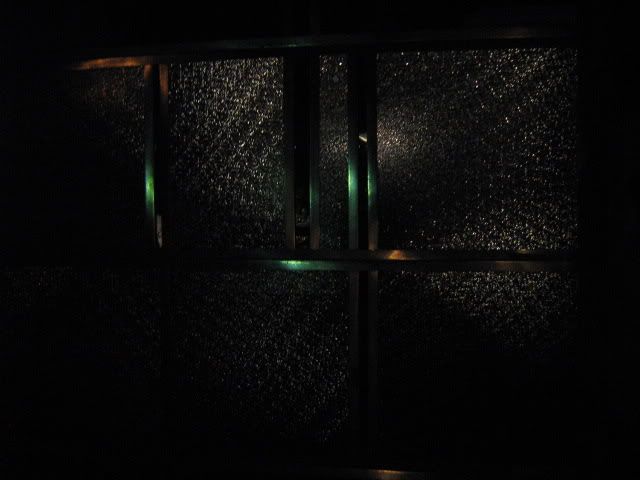
I am thinking about adding some solar lights to it to make it glow.
We like it a lot and the privacy even more. Since the framing is nice and square we can change it out at anytime with another material if we want to. The panels also slide easily from side to side. All in all, I'm pretty happy!
Mom this looks awesome! Love the new wall!!
ReplyDelete; } TY!
ReplyDeleteThe view from the other side of the road is beautiful too...Great job & so creative. I am looking forward to the solar lights, that sounds awesome!
ReplyDeleteI am happy you like it! Solar light show, coming up!
ReplyDeleteOh, and the cream/white house color...I am really digging that too.
ReplyDeleteThis really turned out awesome. Amazing how those lucite pieces look really modern compared to what they looked like in your room, drabbo!!
ReplyDeleteYou are right. TY.
Delete